It is true that canning and preserving took a hiatus for a few decades. With the advent of supermarkets and expanded varieties of jams, jellies, pickles, and canned produce, you could buy anything you wanted. But, today we are experiencing a revival of eating minimally processed and organic foods. With home canning, we can capture fruits and vegetables at their height of flavor and peak of nutrient development. Whether we purchase them at farmer’s markets or harvest them ourselves, we can preserve them as jelly or jam on the same day to retain that treasured fresh taste. We can pluck tomatoes off the vine at their developmental zenith and they will contain greater concentrations of nutrients. From farm-to-table, home canning is the optimum way to capture and preserve fresh taste and maximum nutrition of summer produce.
Doing it right is important, but if you have the equipment ready and break the process into steps, your first time will be a success. You will have confidence that you have sealed the jars safely for long-term storage, and go forth on a quest to try a new canning project!
What You Need
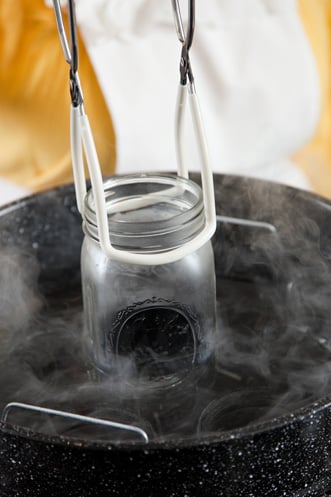
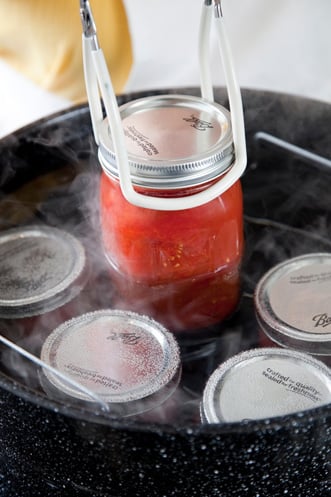
Hot, Water-Bath or Pressure Canner? The canner itself is the most important piece of equipment. All high-acid foods go into a hot-water-bath canner. That means fruit products such as jams, jellies, preserves, marmalades, chutneys, fruit butters, and anything pickled with vinegar like pickles and relishes. Tomatoes are high in acid and are canned in a hot-water-bath canner. (You can use a large stockpot with a lid, but you must have a rack in the bottom to keep the jars away from direct heat.)
Low acid foods, such as non-pickled vegetables (except tomatoes), dried beans, meats, and poultry, must be processed in a pressure canner.
Both methods heat the ingredients in the canning jar enough to create a vacuum and kill off any potentially harmful bacteria.
Other Basic Equipment:
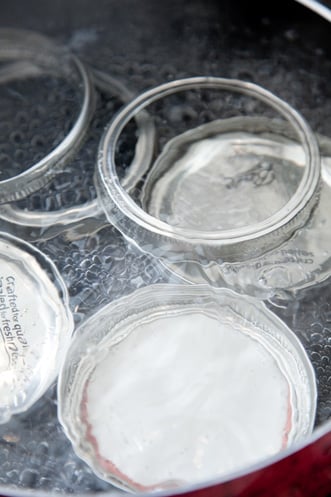
- Canning jars, lids, and screw bands: Use only Mason jars, in sizes suitable for the product and your family’s needs; they come in half-pint-, pint-, and quart-sized. Lids can be used only once; there is a chance they might not seal properly the second time around. Screw bands can be reused; make sure they are clean and dry before storing.
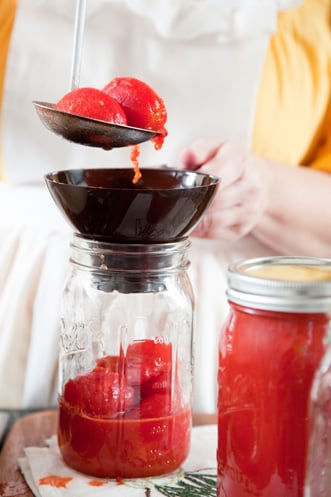
- Large spoons, slotted spoons, and soup ladles for mixing and filling jars
- Sharp paring knives and a vegetable peeler for preparing the produce
- Canning funnel for filling jars with hot liquid
- Magnetic lid lifter or tongs for lifting sterilized lids from boiling water, keeping lids from being contaminated by fingers
- “Jar lifter” for lifting hot filled jars from the hot water bath
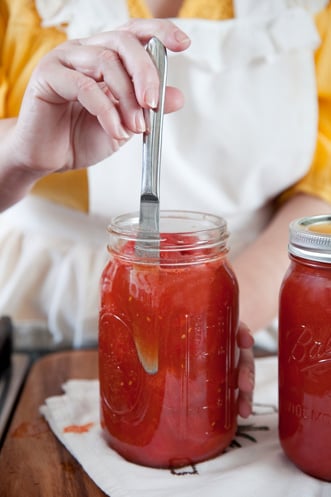
- Table knife or narrow plastic spatula for getting air bubbles out of jars
- Kitchen timer
- Kitchen towels for wiping the jars clean after filling and cooling hot processed jars.
Helpful Hints Before You Start
- Use only peak produce; cut off and discard defects.
- Fill jars with same-sized food pieces for even processing.
- Keep workspace and equipment very clean to reduce the risk of contamination in your food jars.
- Know how high you live above sea level. The higher you live, the lower the boiling point of water. Hot-water-bath processing time has to be increased to offset the lower temperature. For altitudes higher than 1,000 feet, increase processing time as follows: 5 minutes for 1,001 to 3,000 feet; 10 minutes for 3,001 to 6,000 feet; 15 minutes for 6,001 to 8,000 feet; 20 minutes for 8,001 to 10,000 feet.
Canning Steps
Step 1: Be Prepared
Read the entire recipe and familiarize yourself with the instructions. Assemble equipment and ingredients.
Step 2: Check and Clean Equipment
Check jars for nicks, cracks, or uneven rims that will prevent sealing or cause breakage. Lids should be unused and clear of scratches; sealing screw bands should fit on jars. Then wash all in hot, soapy water and dry thoroughly.